Making a Dark Ages Lyre
This was my third or fourth attempt at making a dark ages lyre, inspired by the Germanic Trossingen lyre. I used mostly modern tools. This was meant as a gift for someone who, sadly, no longer plays in the SCA. I hope that she picks it up now and again and that it summons warm memories.
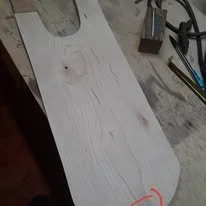
First we have to cut out the soundboard. Pretend I have a picture documenting that. Then we trace the soundboard onto our body. Pretty sure the body is oak and the soundboard is walnut, but don’t quote me.
I left some space at the bottom and the top. I don’t recall if this was on purpose or not. Let’s say that it was.
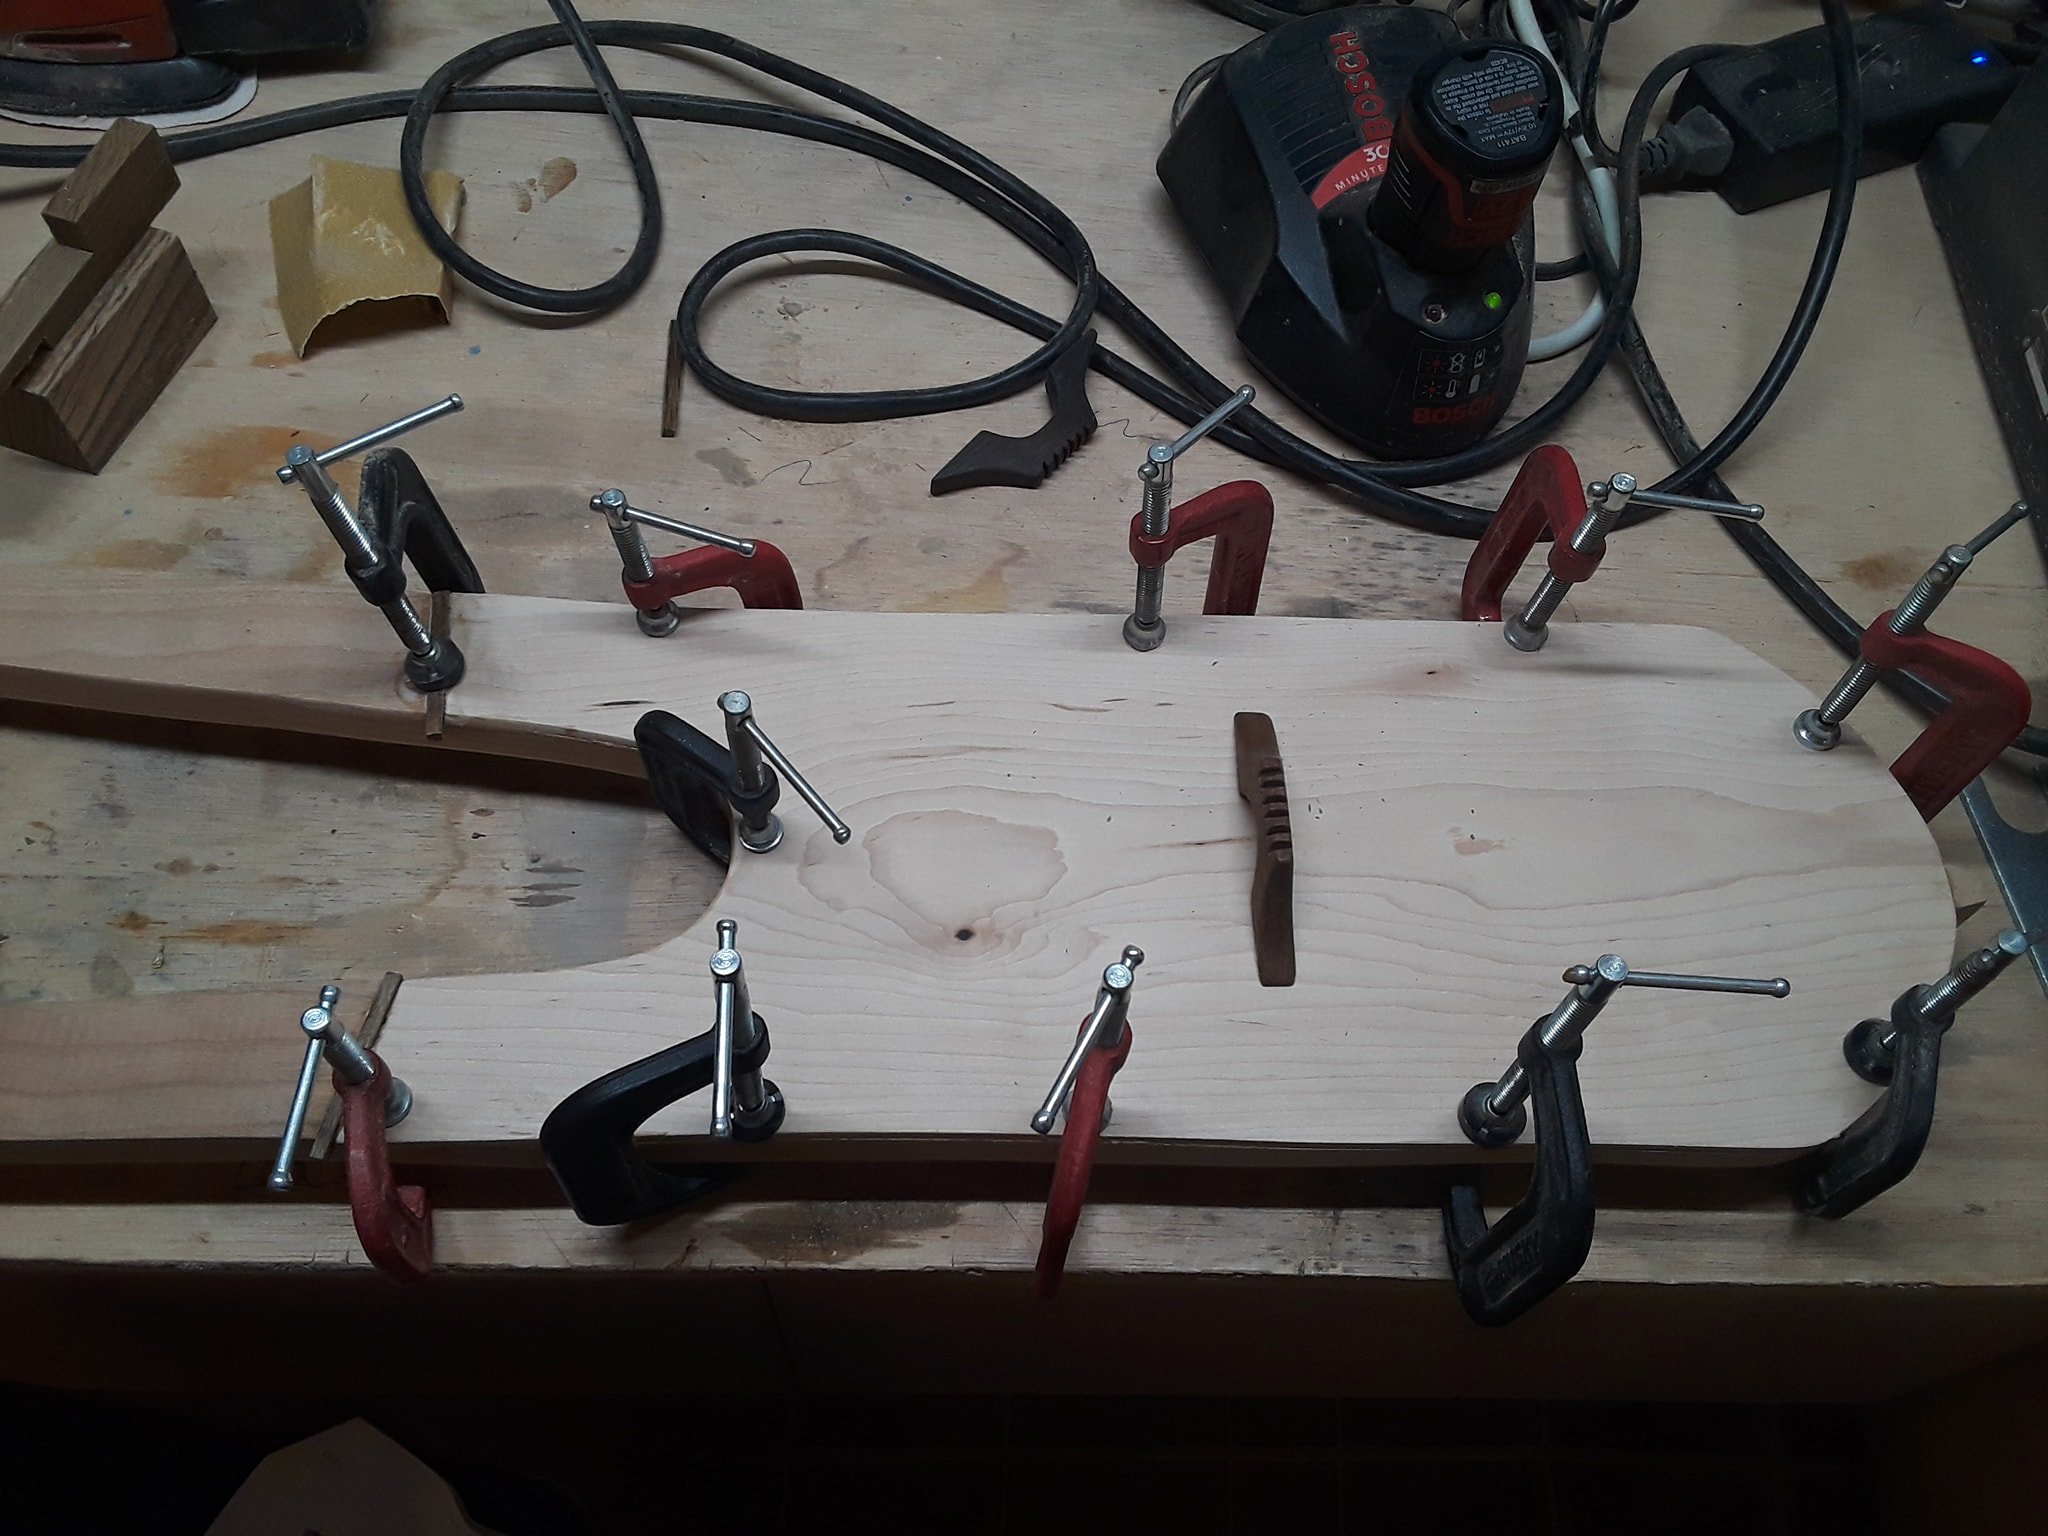
Next up, clamps. It’s important to only clamp the edges lest you deform the thin soundboard
Next I rout out the tips of the “arms” of the lyre, in order to fit the crosspiece
A nice coat of Danish Oil sealed the piece. The color changed somewhat (even though the oil was clear), but I think it brought out some nice color. Danish Oil is non-period (being a mix of oil and polymer), but I like it for its overall effect, resilience, and versatility
Bridge number one. I believe I cut the bridge out with a jeweler’s saw, sanded it down, and cut the string channels with a file.
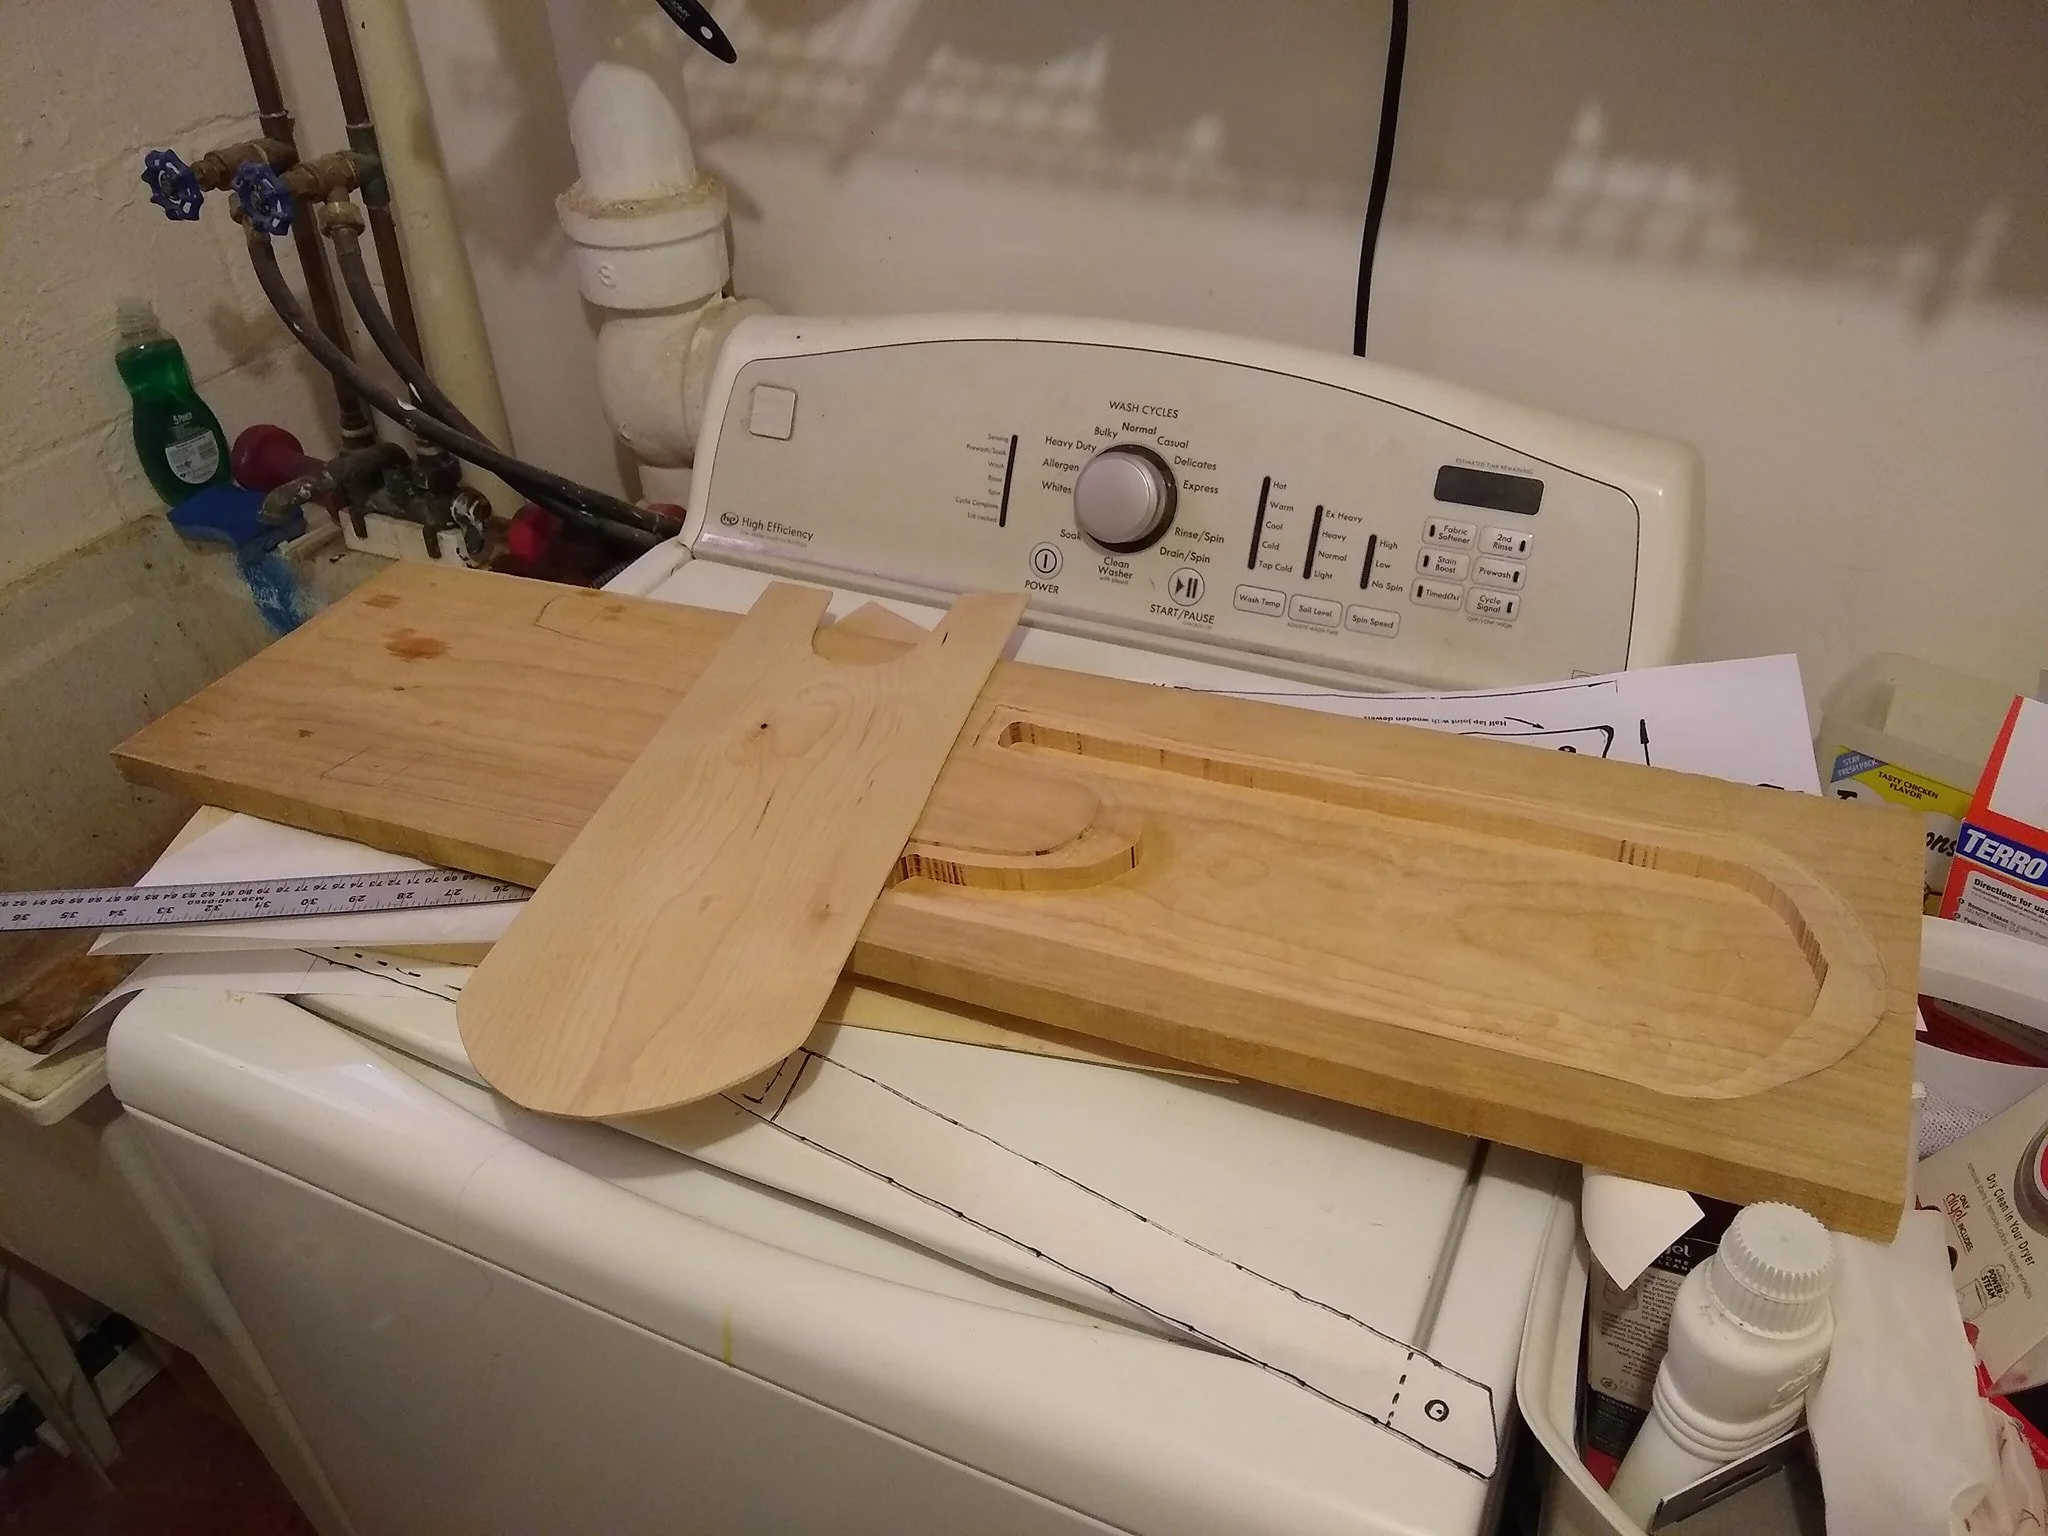
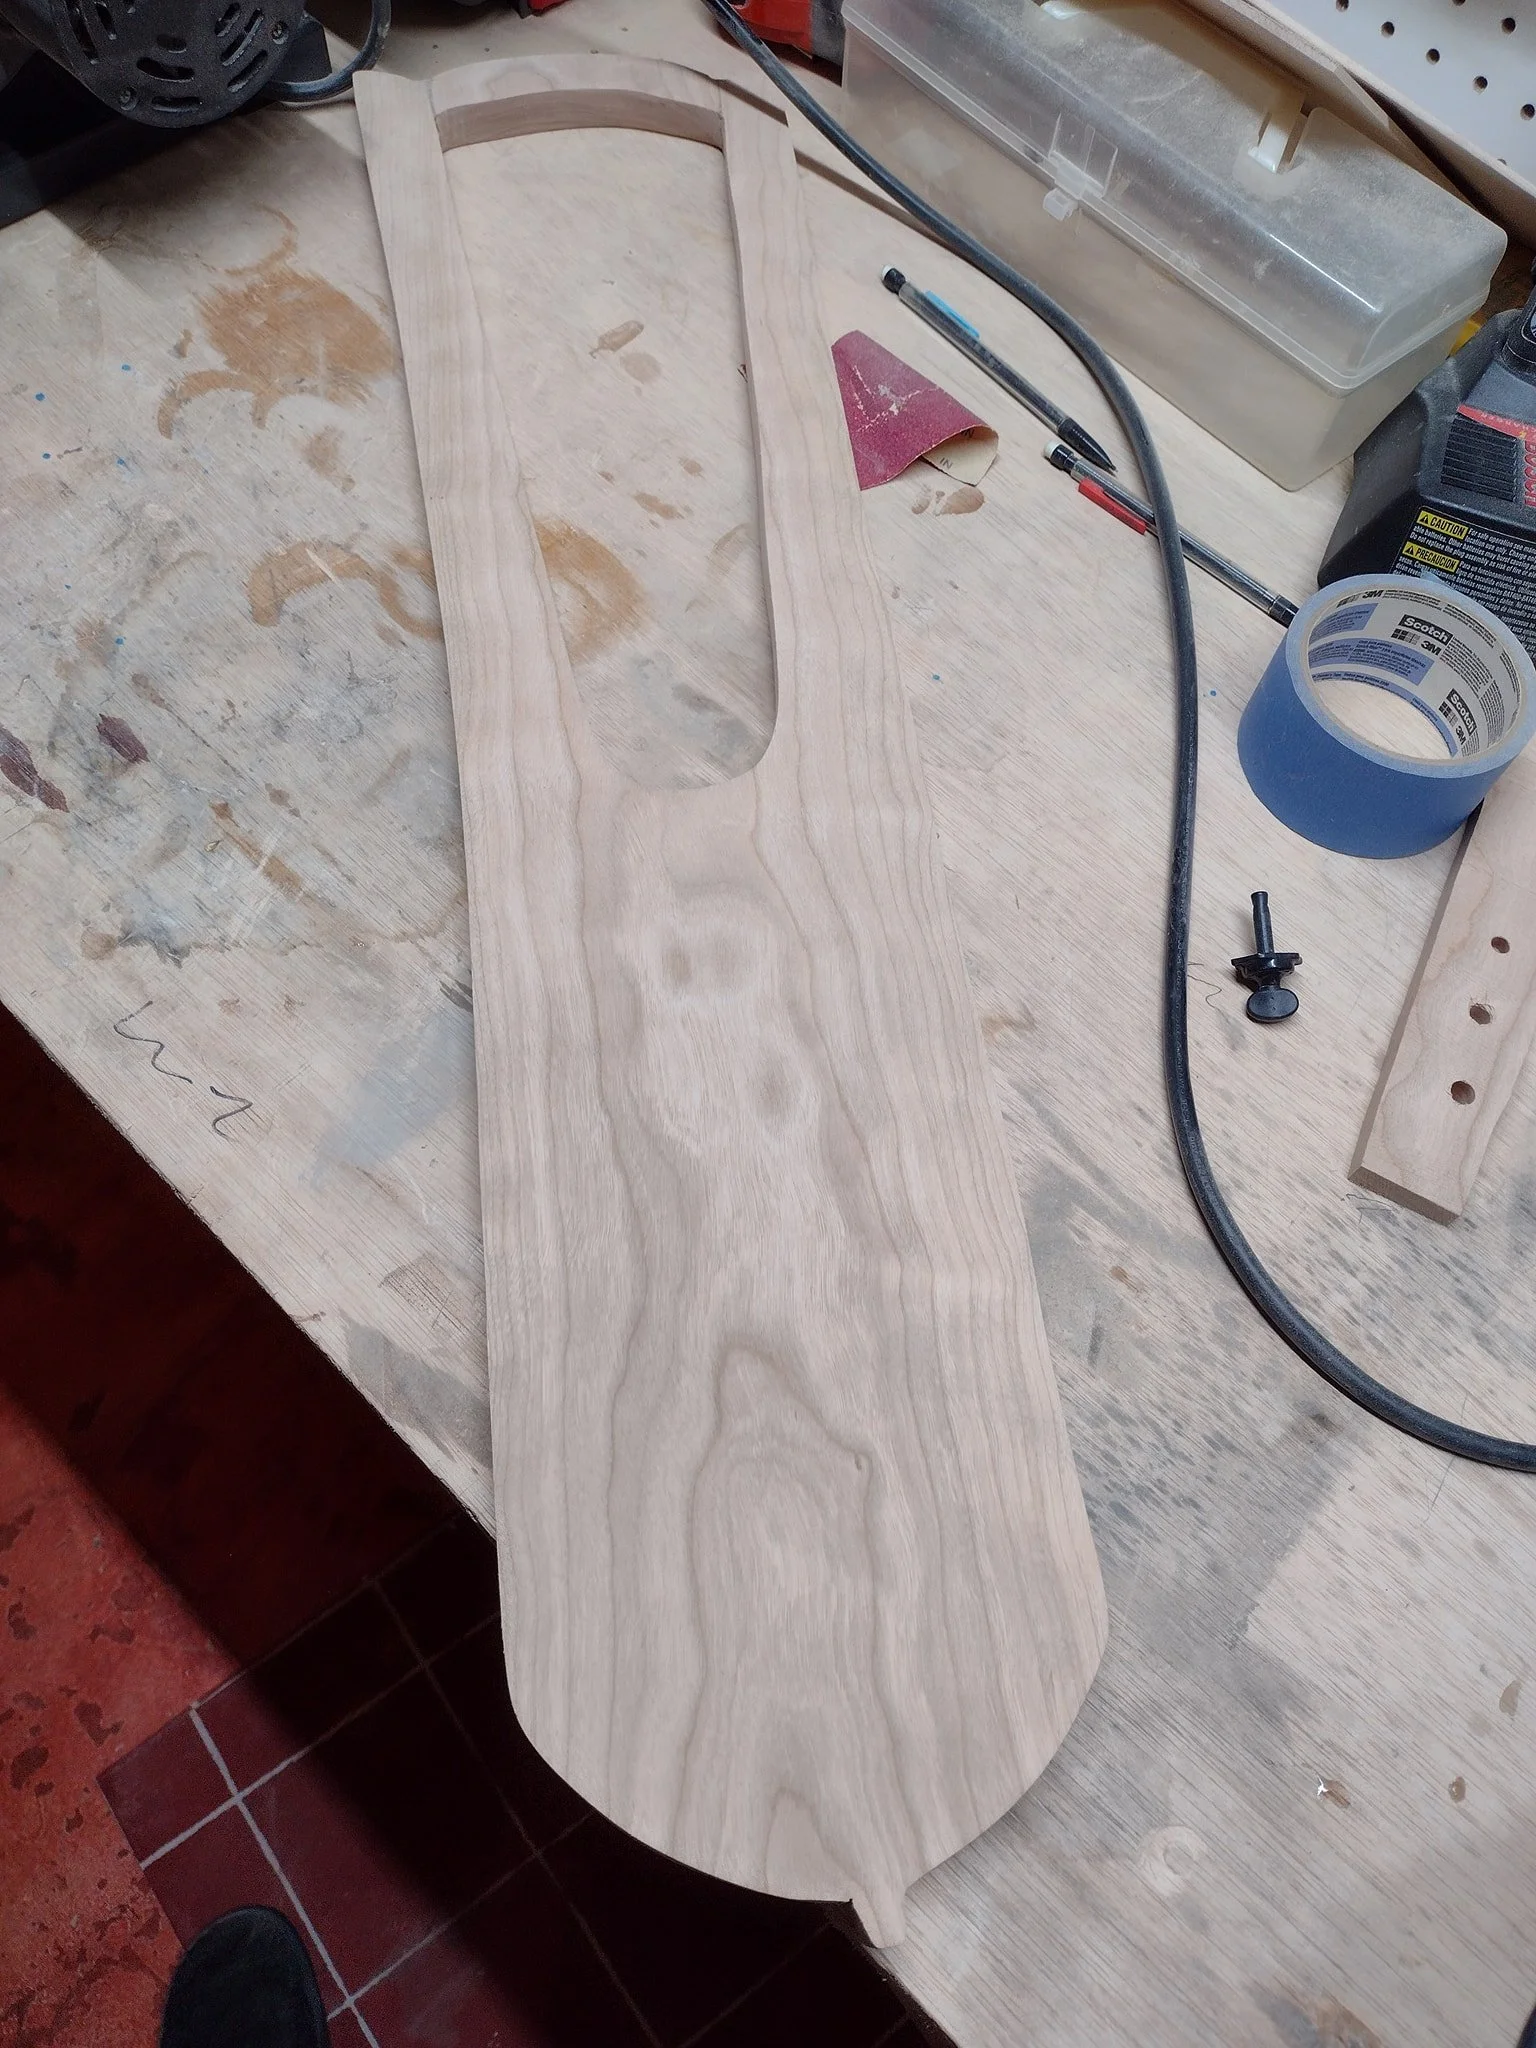
Next we rout out the sound chamber. I did this before cutting out the body so as to make the routing easier and to giver the router more stability.
Mind the gap.
Bridge number two. For what it’s worth, bog oak isn’t actually oak, but any wood which has, by virtue of being in a swamp for a few hundred years, begun the process of petrification.
Note that I also routed out the inset for the soundboard to nest in.
Yes, this was most definitely on purpose.
Test fitting the inlay between the soundboard and the neck. I believe I used bog oak for this.
I don’t recall if the bottom inlay was intentional or a response to a cutting error, but the inlay at the crosspiece was definitely intentional
Prior to applying the oil, I drilled out pilot holes for the sound pegs
That done, I cut out the body and test fit the soundboard to it
Next comes the glue. Standard Titebond 3(?) wood glue.
Looks pretty good!
Looking pretty good!
Next I worked on the bridges (at the time I was making two lyres). I believe both were bog oak.
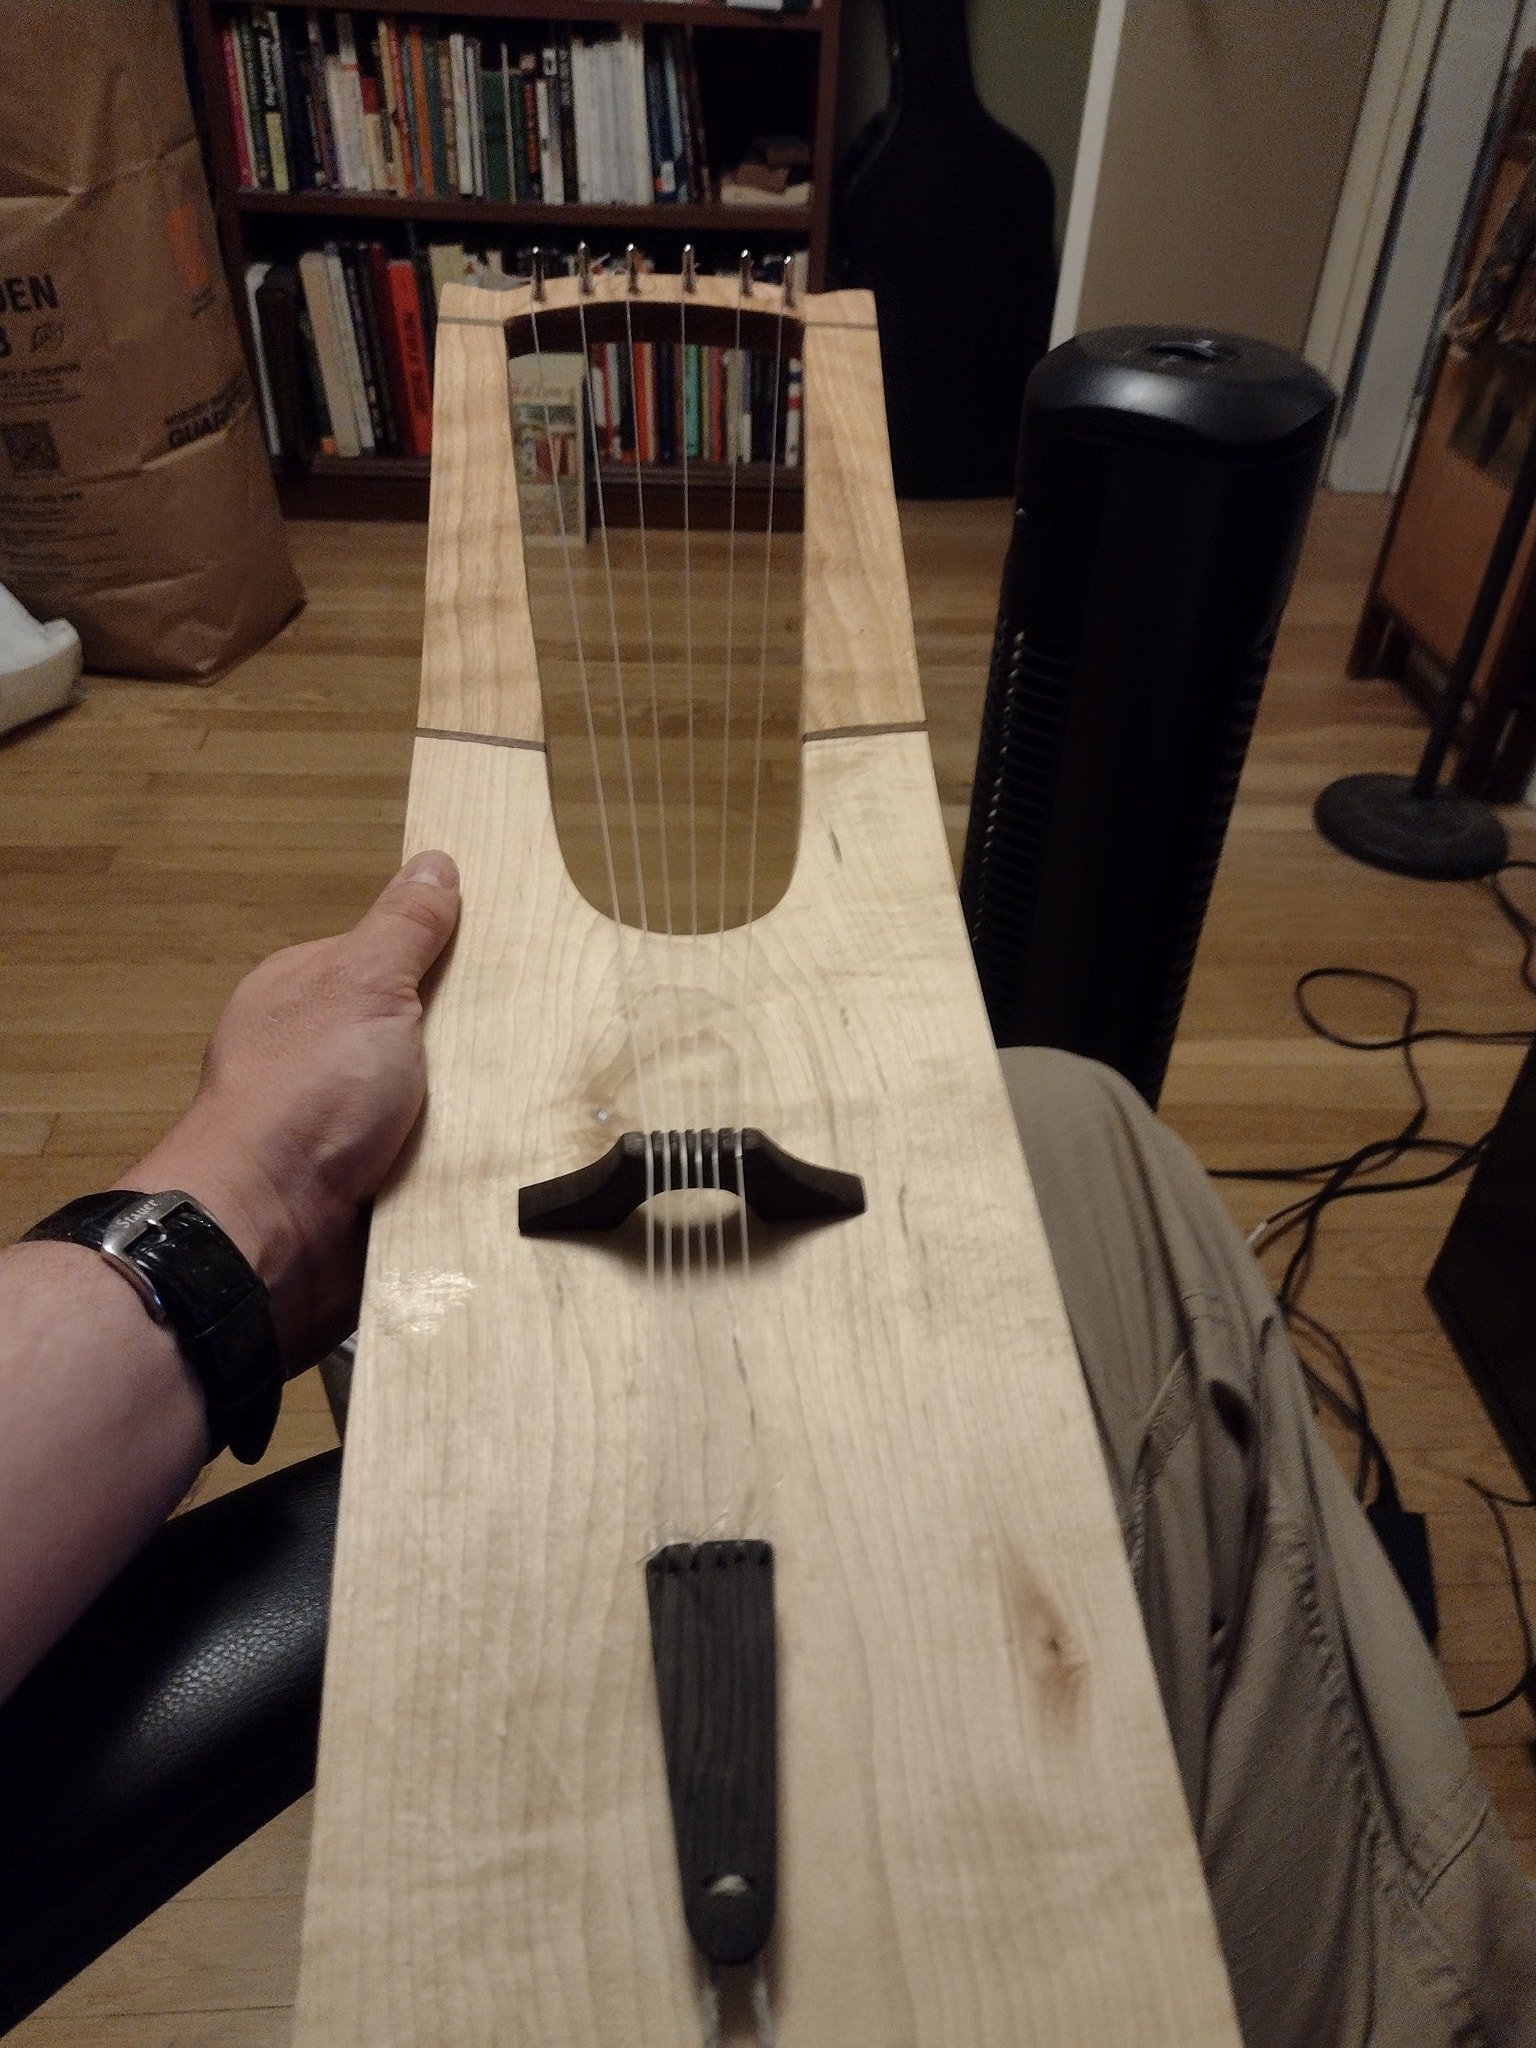
Bridge and tailpiece
The lyre, completed. I used modern zither pins because I lack the skills and tools to make wooden tuning pins. The lyre is strung with three different sizes of nylon fishing line. Originally they would have been catgut (actually a misnomer; “catgut” is from cows or sheep, not felines), and while gut strings are still available, they are notoriously temperamental. Overall, I am pleased with the outcome. At the time I made my earliest lyres (c. 2009-ish) they were sort of undiscovered and I felt as though I was making something unique. Now you can find them all over Etsy. Which is cool, but I can’t help but feel a bit jealous. Anyway, they were never really “mine,” after all.
Close-up shot of the body
Back side of the body
A nice coat of Danish Oil darkens them nicely.
Closeup of the two
